Commercial Roof Coating Process: Prep, Repairs, Thickness, and What to Expect On-Site
Mose Borntreget • April 25, 2026
A step-by-step breakdown of what a quality coating job includes—before, during, and after the work.
If you’re considering a coating project for a commercial building, here’s what you really want to know:
- What happens on the roof day-by-day?
- What should a “real” coating scope include?
- Why do some coating jobs last and others fail early?
This guide walks through the commercial roof coating process step-by-step—without the fluff—so you know exactly what to expect.
Start here: Commercial Roof Coating: Restore vs Replace, Cost, Lifespan, and Best Uses (Commercial Guide)
Step 1: Inspection and candidate confirmation (before anyone quotes it)
A quality coating project starts with confirming the roof qualifies.
During an inspection, a contractor should evaluate:
- roof type and current condition
- leak history and failure points
- drainage/ponding water concerns
- moisture concerns (wet insulation / trapped moisture)
- what repairs are required before coating
If you’re dealing with repeat leaks at seams, drains, or penetrations, make sure the inspection focuses there—because that’s where most failures begin.
Helpful read: Flat Roof Coating: Stop Recurring Leaks at Seams, Drains & Penetrations (Commercial Guide)
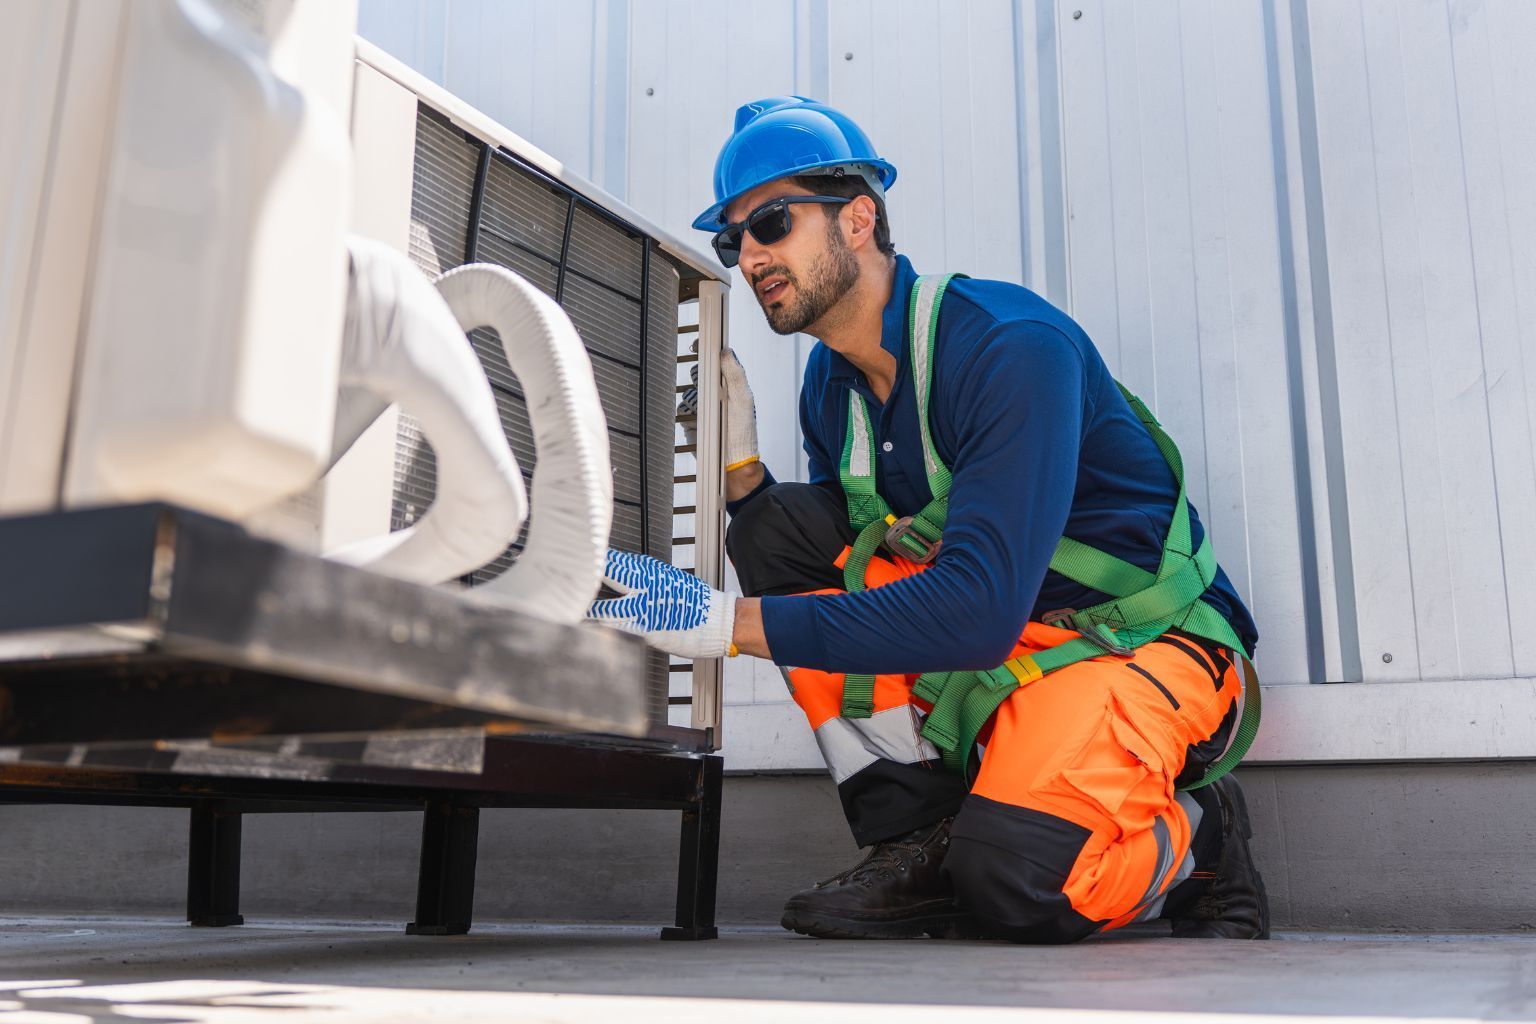
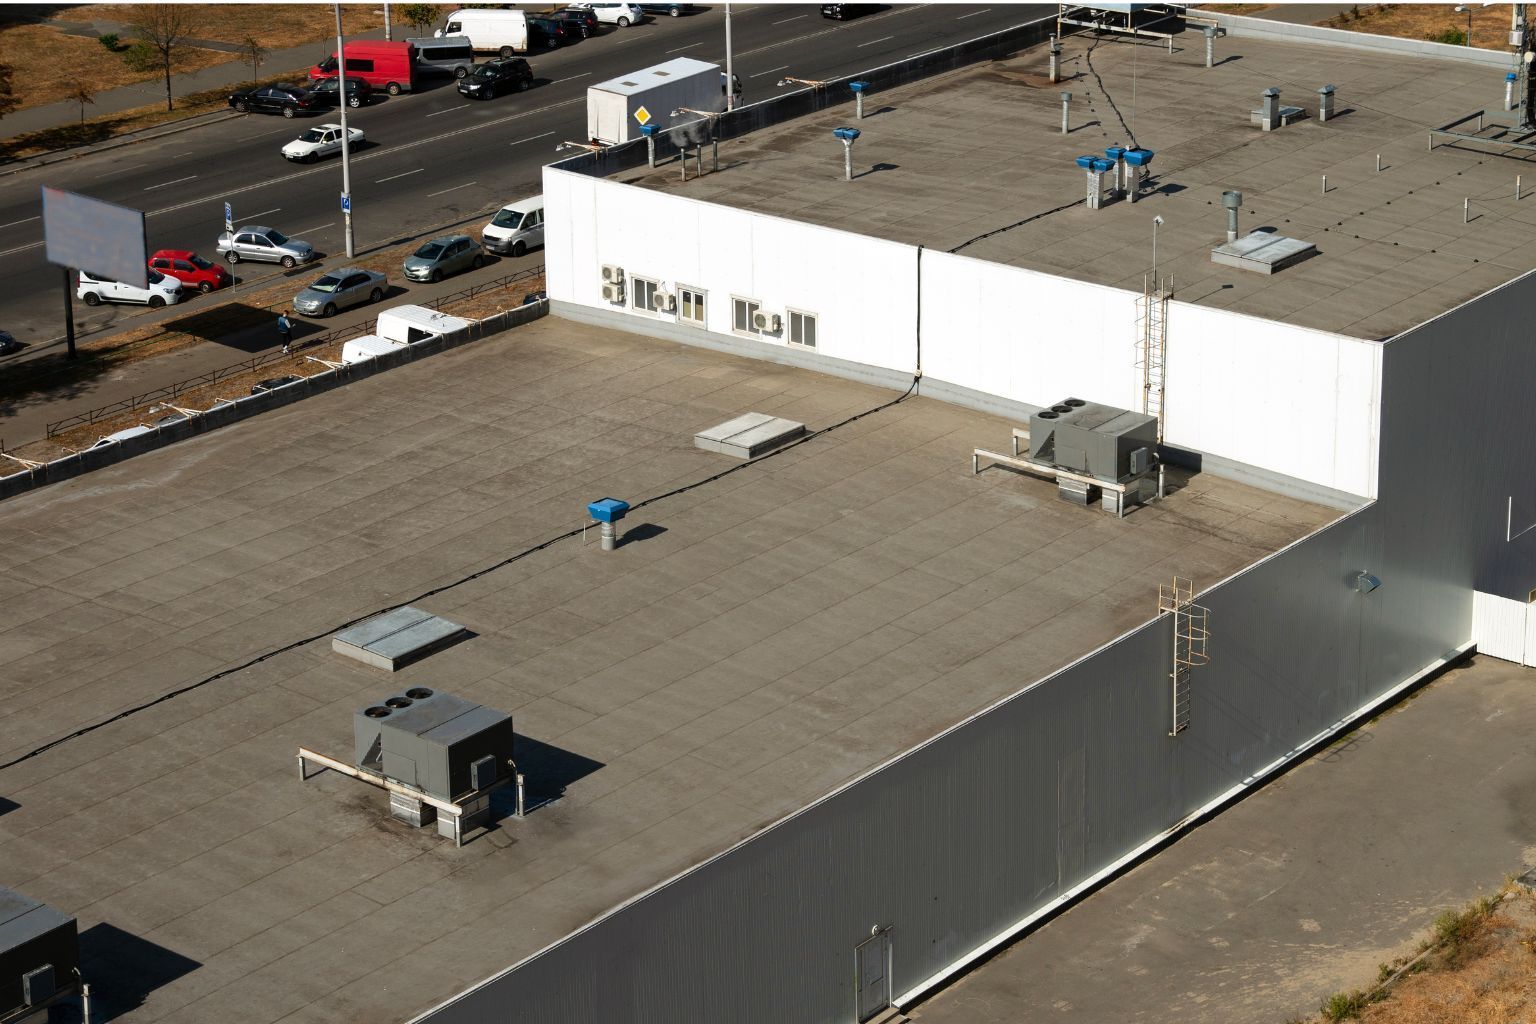
Step 2: Site planning (access, staging, safety)
Before production work starts, a good contractor plans:
- access points and staging areas
- safety setup (fall protection, walk paths)
- protection for equipment/parking/entryways
- timing for occupied buildings (minimize disruption)
This is where commercial projects are won or lost. A “cheap” scope often ignores logistics and protection.
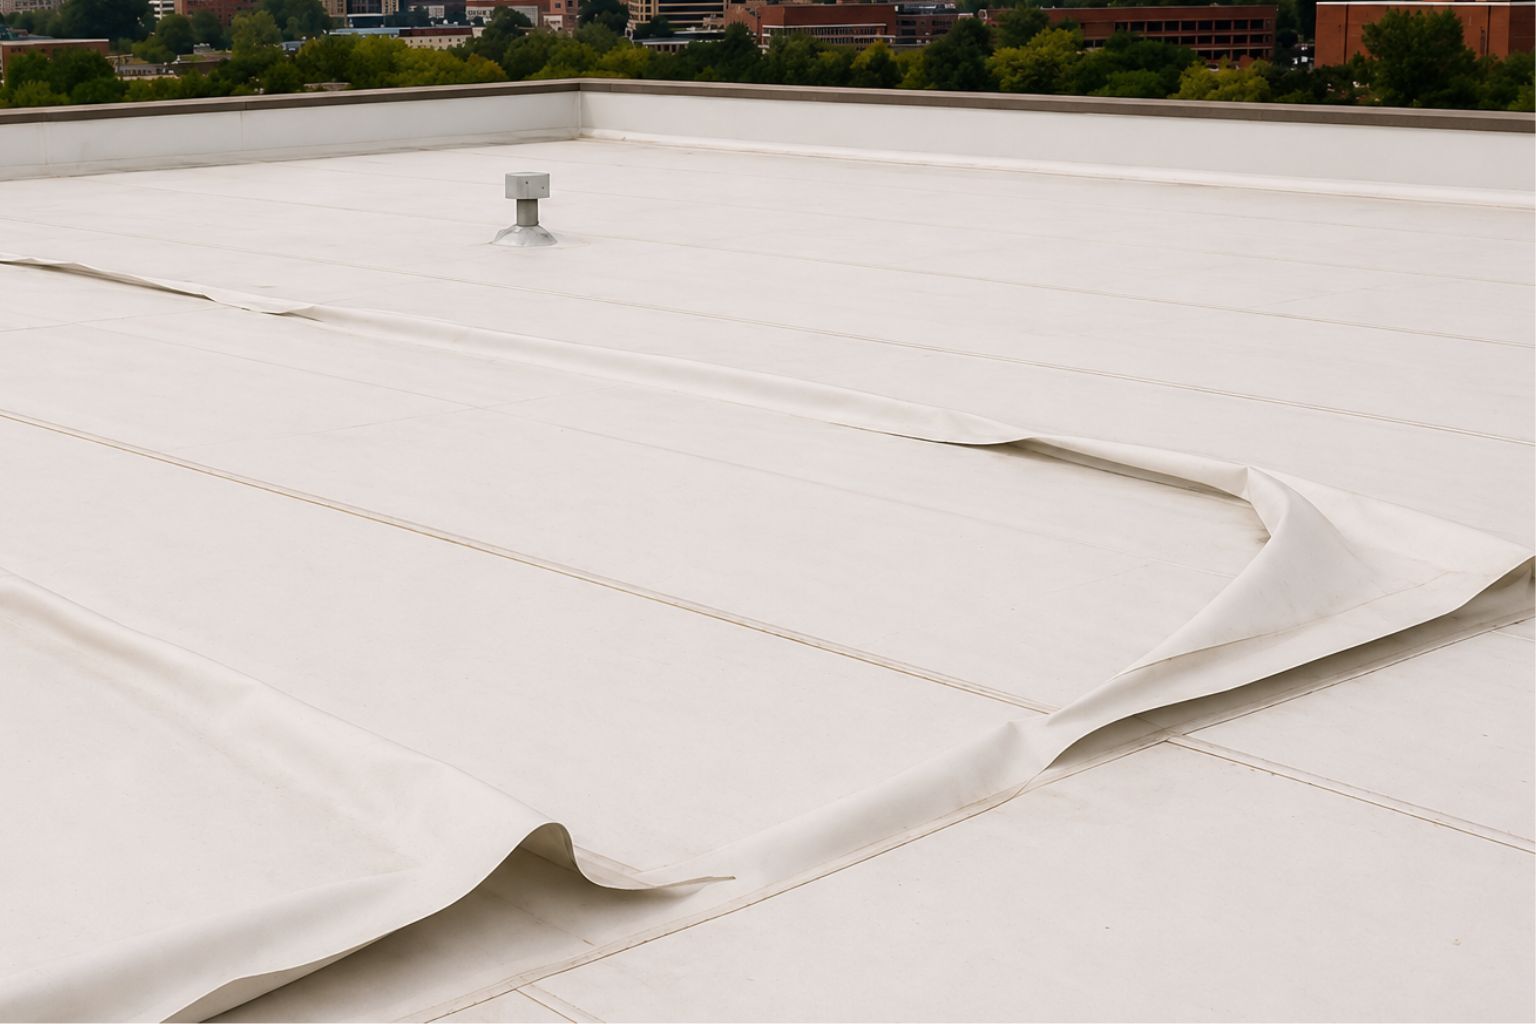
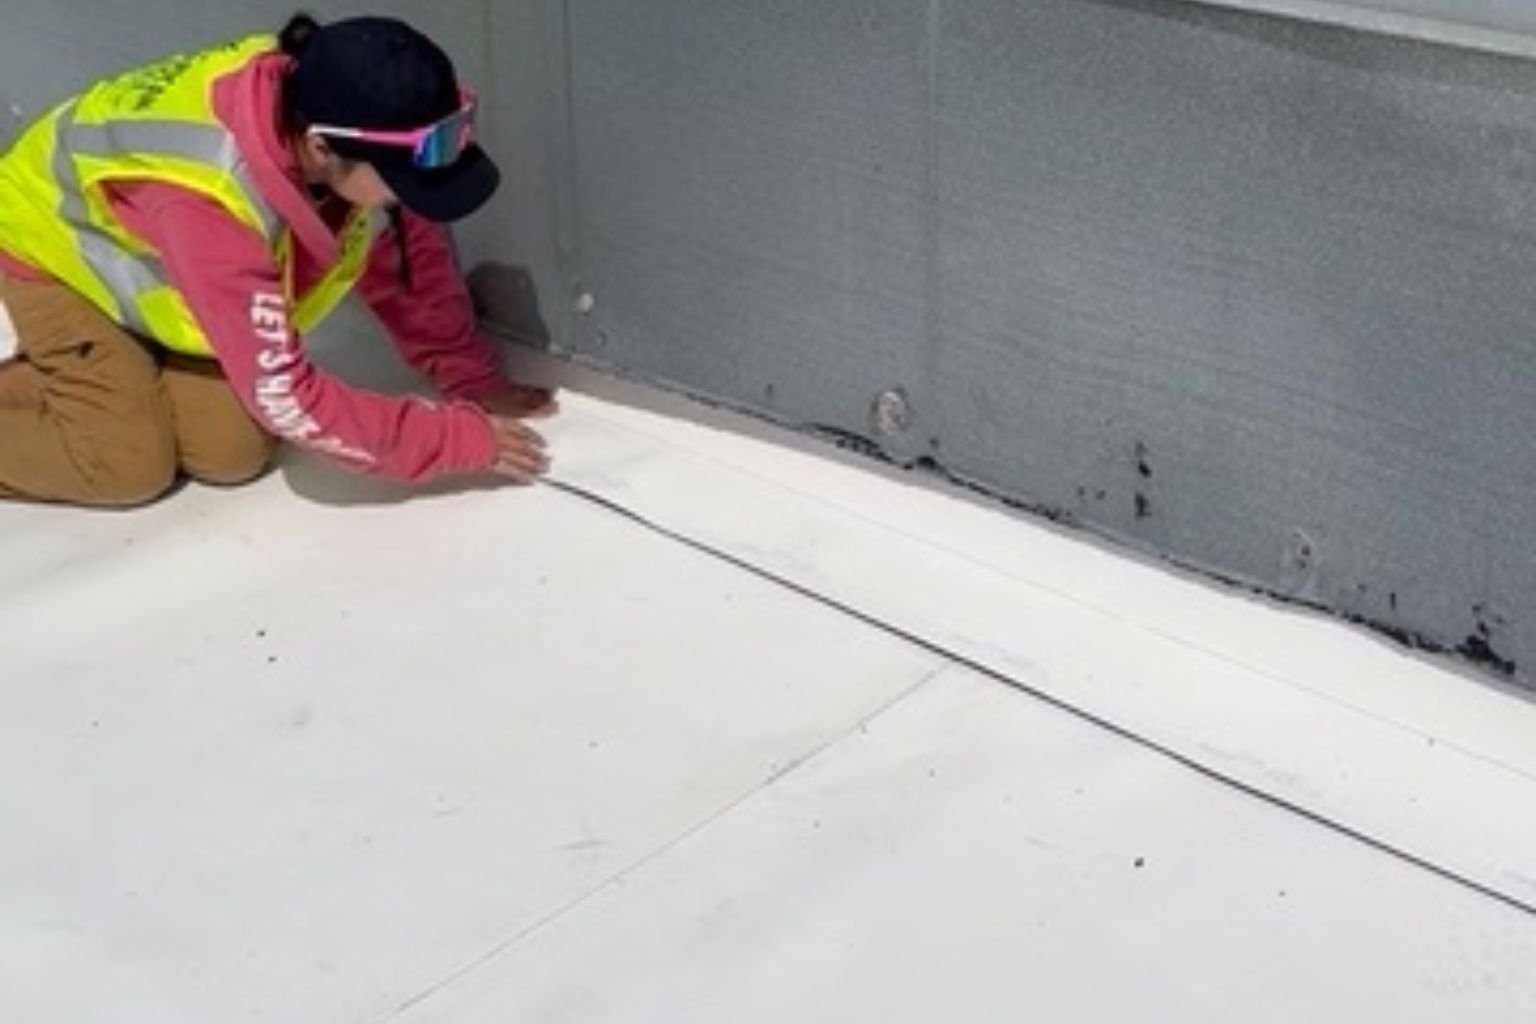
Step 3: Cleaning and surface prep (the make-or-break step)
Prep is the part that determines whether the coating bonds correctly.
Typical prep includes:
- power washing / cleaning to remove contaminants
- addressing loose material, chalking, rust/oxidation (as needed)
- ensuring the surface is dry and ready for detailing and adhesion
If prep is rushed, coatings fail. Period.
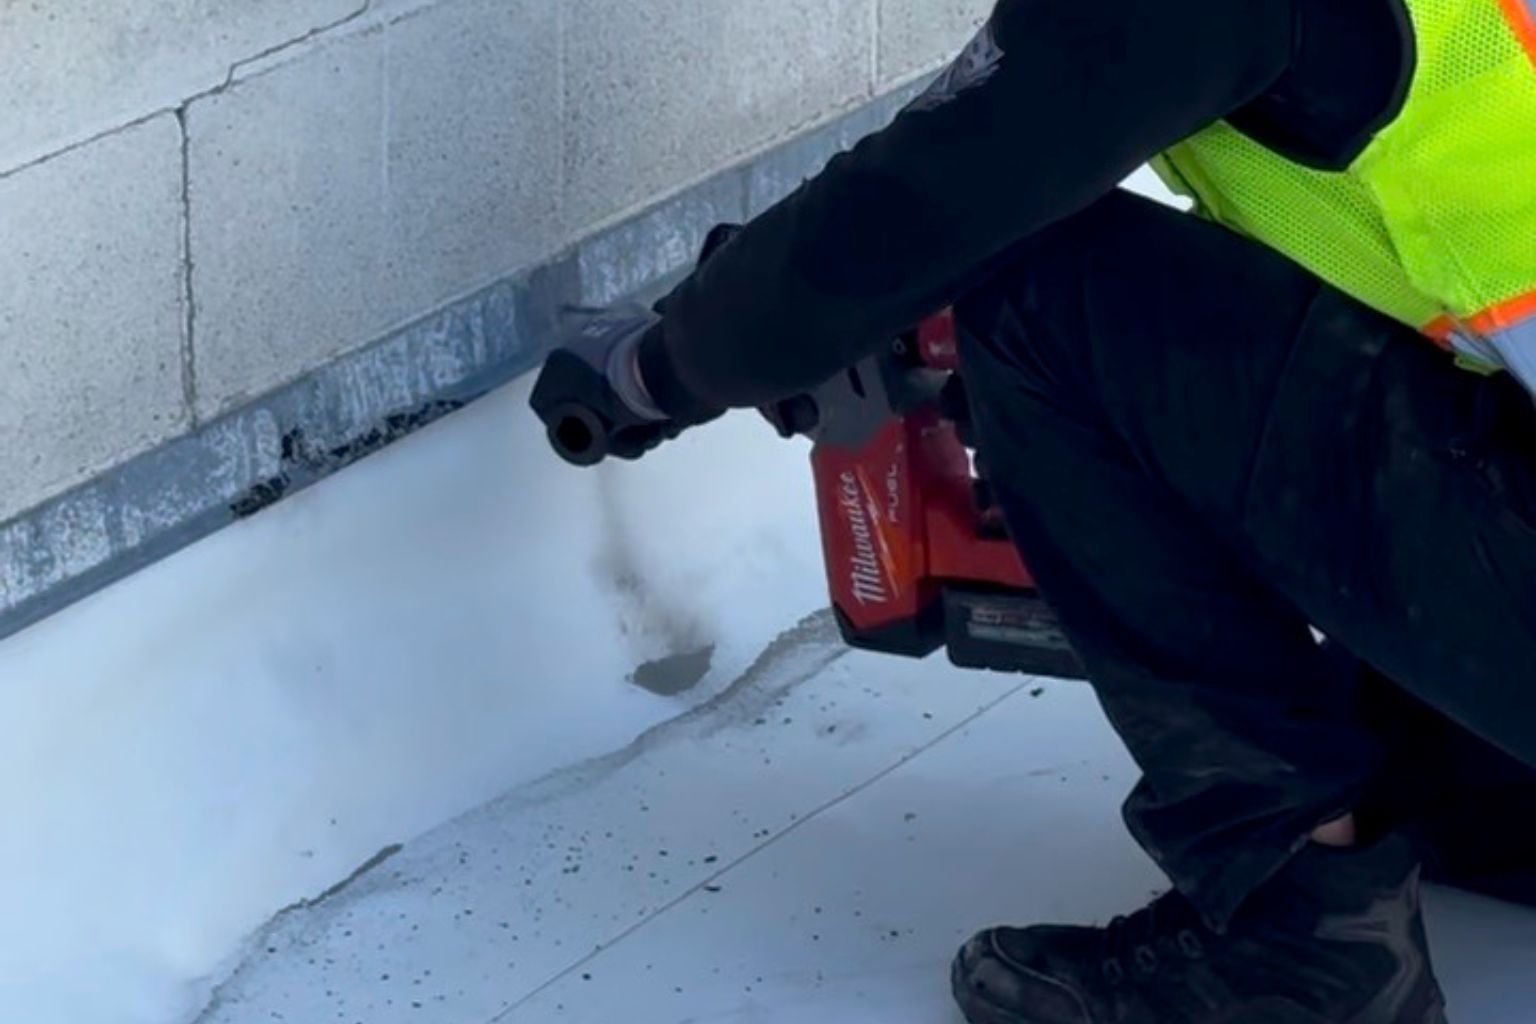
Step 4: Repairs at seams, penetrations, and transitions
This is the work that actually stops leaks long-term.
A proper scope should address:
- seam failures and separation
- penetrations (HVAC curbs, vents, pipes, conduits)
- wall transitions and terminations
- edge metal and flashing issues
- drain and scupper details (low areas)
If your roof leaks keep coming back, it’s usually because this step was skipped or underbuilt.
Again, this guide covers those leak hotspots in detail: Flat Roof Coating: Stop Recurring Leaks at Seams, Drains & Penetrations (Commercial Guide)
Step 5: Reinforcement (when needed)
Some roofs need more than repairs before coating.
Reinforcement may be used when:
- seams repeatedly fail
- transitions see movement and stress
- prior repairs are stacked and unstable
- high-risk details need added strength
This is where “quality” shows up—because reinforcement is labor-heavy, and it’s often the first thing cut from low bids.
Step 6: Primers and adhesion checks (when applicable)
Depending on roof type and condition, a primer or adhesion testing may be required.
A coating job should never assume “it’ll stick.”
Adhesion is confirmed by surface condition and prep—not hope.
Step 7: Coating application (to spec)
This is the part everyone thinks is the whole job—but it’s just one step.
What matters:
- even coverage
- correct mil thickness (wet and dry film)
- proper cure conditions
- consistent detailing at laps/edges/penetrations
If a contractor can’t explain the spec (or thickness), you can’t compare bids accurately.
Step 8: Final walkthrough + documentation
A professional close-out should include:
- walkthrough of repaired/reinforced areas
- photos of key details
- notes on maintenance recommendations
- plan for periodic inspections
Coatings perform best when:
- the roof is inspected periodically
- drains stay clear
- small issues at seams/details are repaired early
- rooftop traffic is managed
A coating system isn’t “set it and forget it.” It’s “protect it and track it.”
Why coating bids vary so much (and what’s worth paying for)
Most price differences come from:
- prep scope
- repair scope at details
- reinforcement (included vs excluded)
- thickness/spec
- access/safety/logistics
If you want the full breakdown of pricing drivers, this post pairs perfectly with this guide:
Every roof is different. The best way to avoid wasted money is confirming:
- candidate status
- required repairs and reinforcement
- drainage concerns
- and the right spec for long-term performance
If you want a straightforward recommendation, start with a Free Commercial Roof Inspection.
FAQ
How long does a commercial roof coating project take?
It depends on roof size, prep/repair scope, and weather windows. A good contractor will outline a realistic schedule after inspection.
What’s the most important part of the coating process?
Prep and detail work (seams, penetrations, drains). That’s where most leaks start and where failures happen if skipped.
Can any roof be coated?
No. Roofs with widespread moisture, structural issues, or systemic failure may need replacement or more invasive work.
What a structured commercial roof maintenance program includes, the annual schedule that works in WI/MN, and the budget math that makes it pay for itself.
Real-world lifespans for metal, TPO, EPDM, PVC, and coated commercial roofs in the Upper Midwest - and what actually determines which number you get.
Most commercial roof leaks are preventable. The 6 places leaks start, the seasonal schedule that stops them, and what prevention costs vs one interior leak.
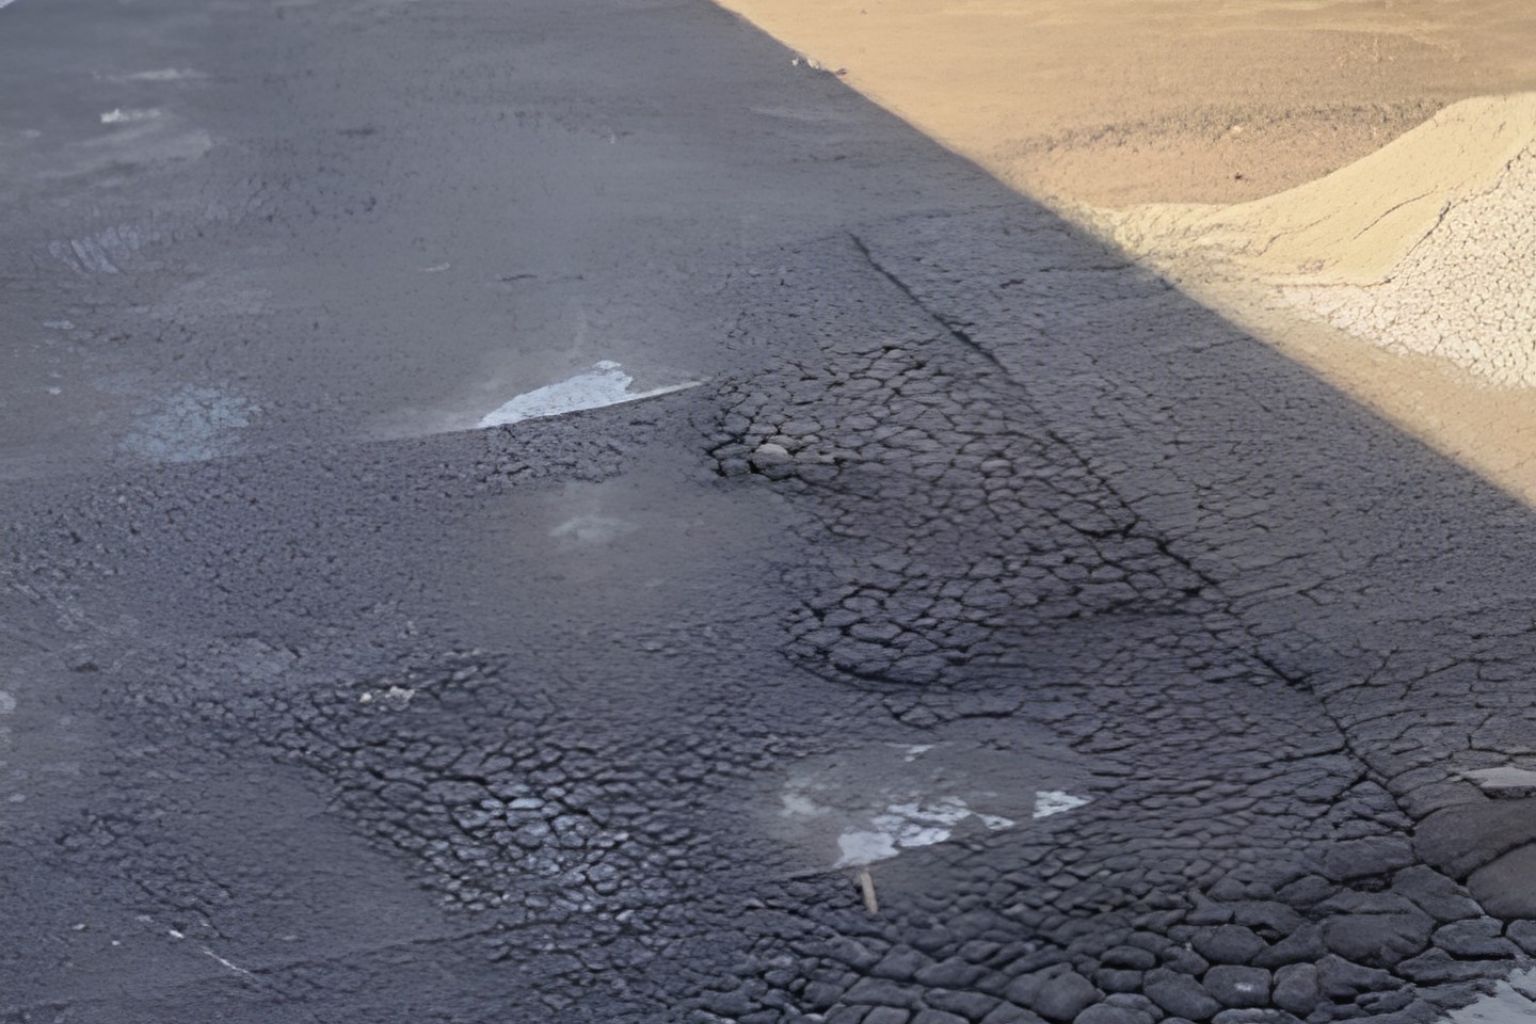
Chalking, cracking, rust bleed-through, peeling - what each roof coating failure sign means, which are urgent, and when recoating still saves the roof.
Most commercial roofs are replaced years early. How inspections, repairs, and coatings add 10-20 years to your roof - and when they can't. Free inspection.
EPDM rubber roof leaking at the seams or flashing? Learn the most common EPDM repairs, how they're done right, and when to restore instead. Commercial, WI & MN.
Hail or wind damage on your commercial roof? Learn how to spot storm damage, document it for an insurance claim, and get it repaired right. WI & MN roofers.
A commercial roof leak rarely starts where you see the stain. Learn how we trace a flat-roof leak to its real source and repair it for good. WI & MN inspections.
Commercial roof leaking right now? Here's how to protect your building, what counts as a roofing emergency, and how fast we respond across WI & MN. Call now.

TPO roof leaking or failing at the seams? Learn the most common commercial TPO repair problems, how each is fixed, and when to repair vs. restore. WI & MN.